Lop off the roof
August 10 2013
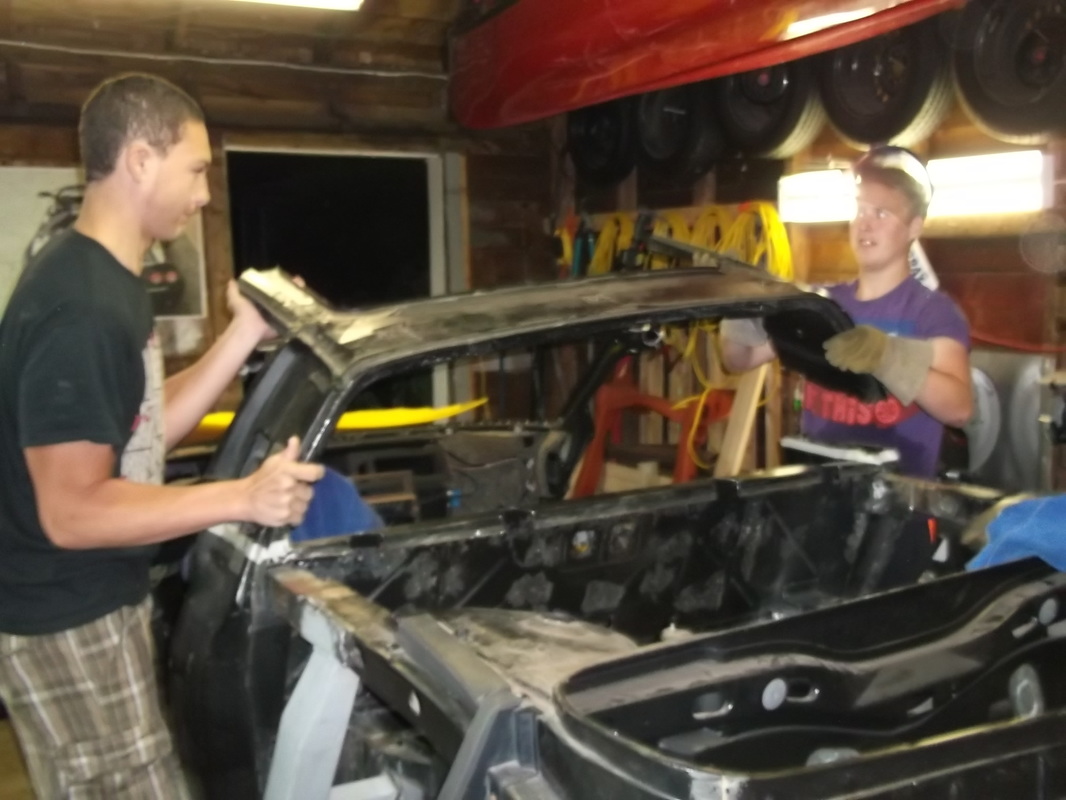
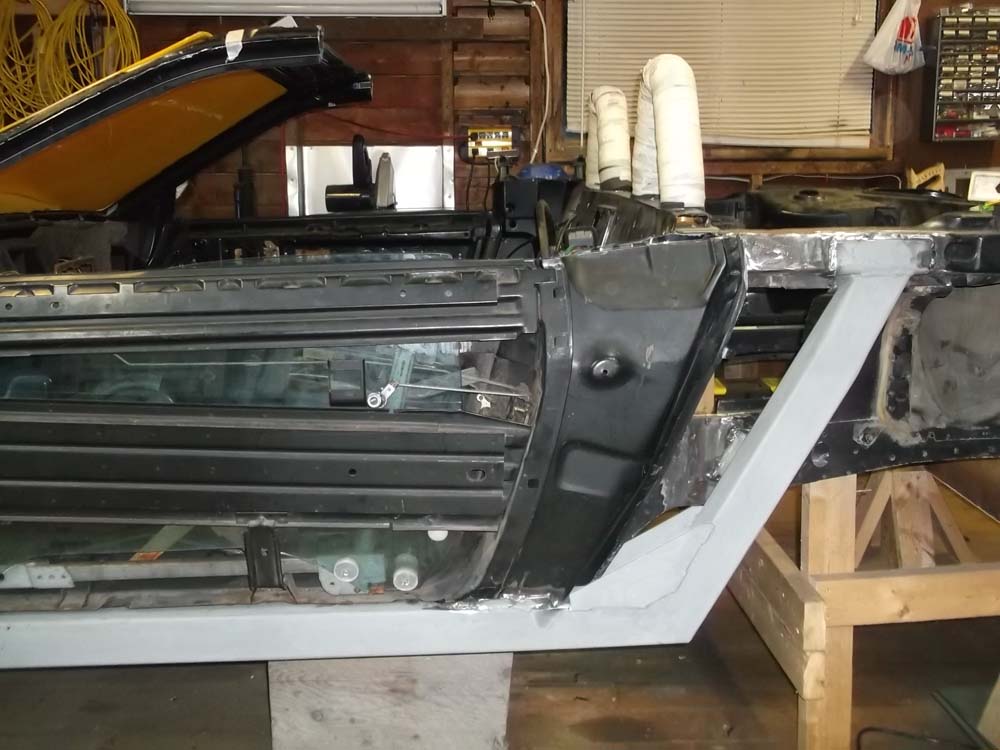
At this stage, the rockers have been reinforced and the firewall has been fitted with the transverse frame with integral roll over hoops. Now comes the fun part...... finally removing the roof. Even though this part of the project will make the most visually dramatic change with the car to date, it was probably the easiest procedure to complete. In fact, I even let the boys do it... with my supervision of course.
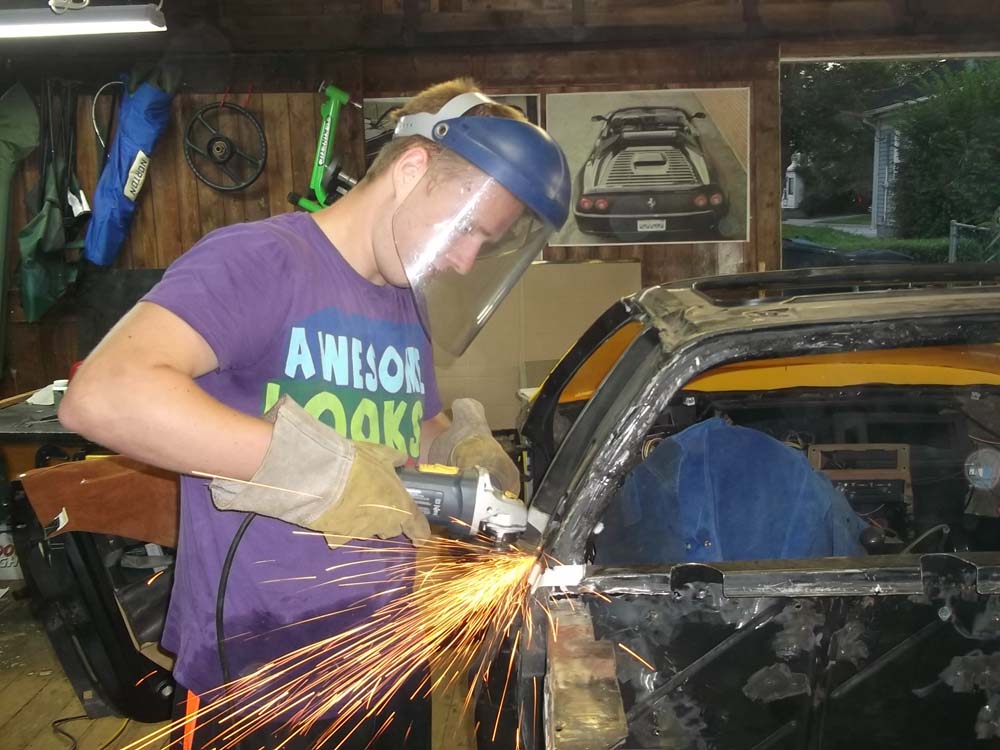
The first cut was at the B pillar. We made the cuts a few inches higher than where we wanted the finish cut to be so that we had a little material to play with. The second set of cuts were at the sun roof opening. There wasn't much material there so it was a quick cut. The reciprocating saw and grinder with a zip wheel made short work of this.
Sorry, I couldn't resist this photo opportunity. We've been working so hard to get to this point and were all excited to remove the roof.
August 13 2013
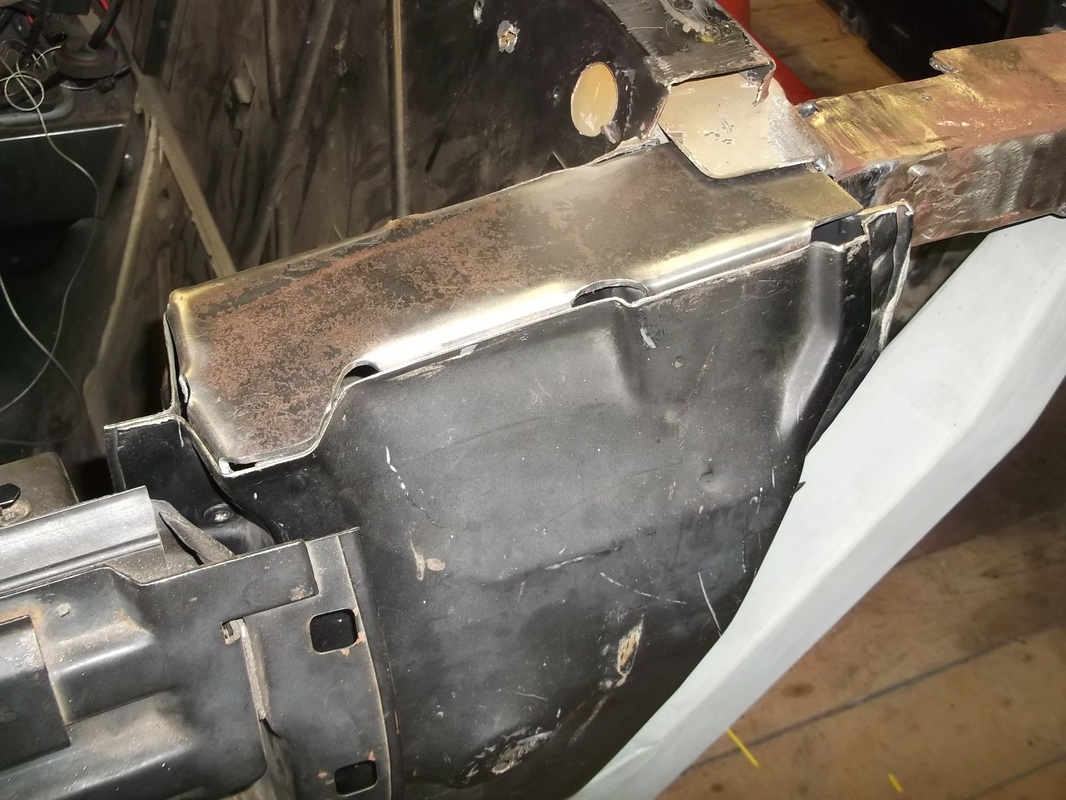
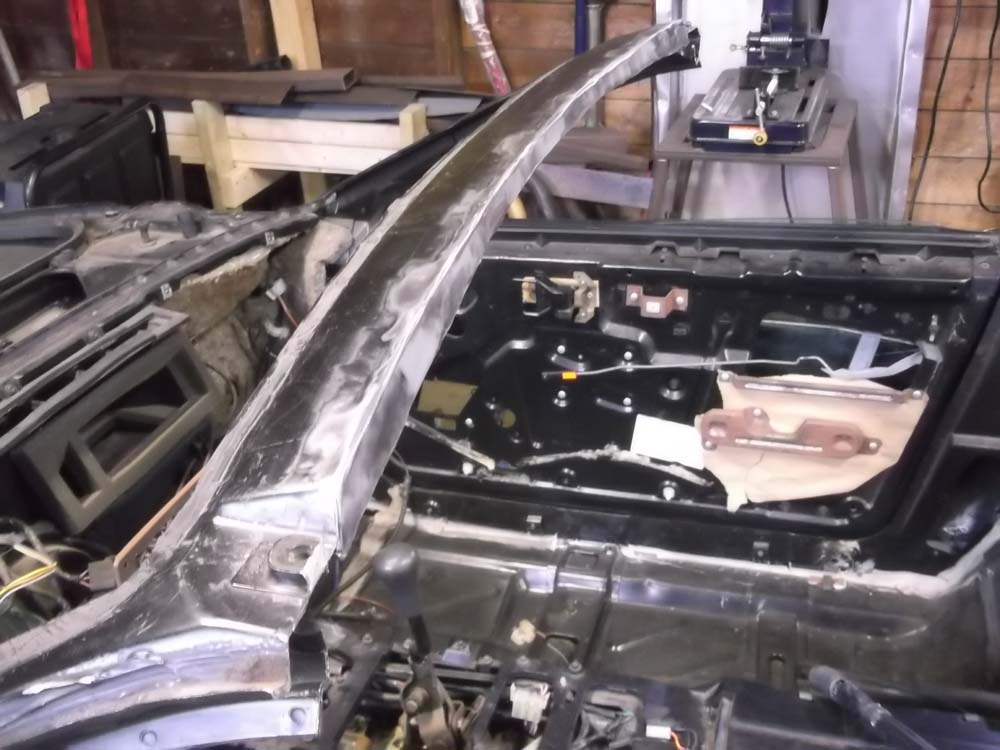
With the roof removed, the next step was to clean up the tops of the B pillars. My goal was to trim as much material as possible so that the remaining structure would be below the body work of the 355. I also wanted to take the opportunity to add a little strength to the top of the B pillar as it is little more than a tall hollow box. Shooting a line from the top rear edge of the door to the top of the firewall, I masked a straight yet sloped line and used a fresh zip wheel to trim the tops of both B pillars. Here are a couple pictures after the trimming was complete.
With the roof removed, the next step was to clean up the tops of the B pillars. My goal was to trim as much material as possible so that the remaining structure would be below the body work of the 355. I also wanted to take the opportunity to add a little strength to the top of the B pillar as it is little more than a tall hollow box. Shooting a line from the top rear edge of the door to the top of the firewall, I masked a straight yet sloped line and used a fresh zip wheel to trim the tops of both B pillars. Here are a couple pictures after the trimming was complete.
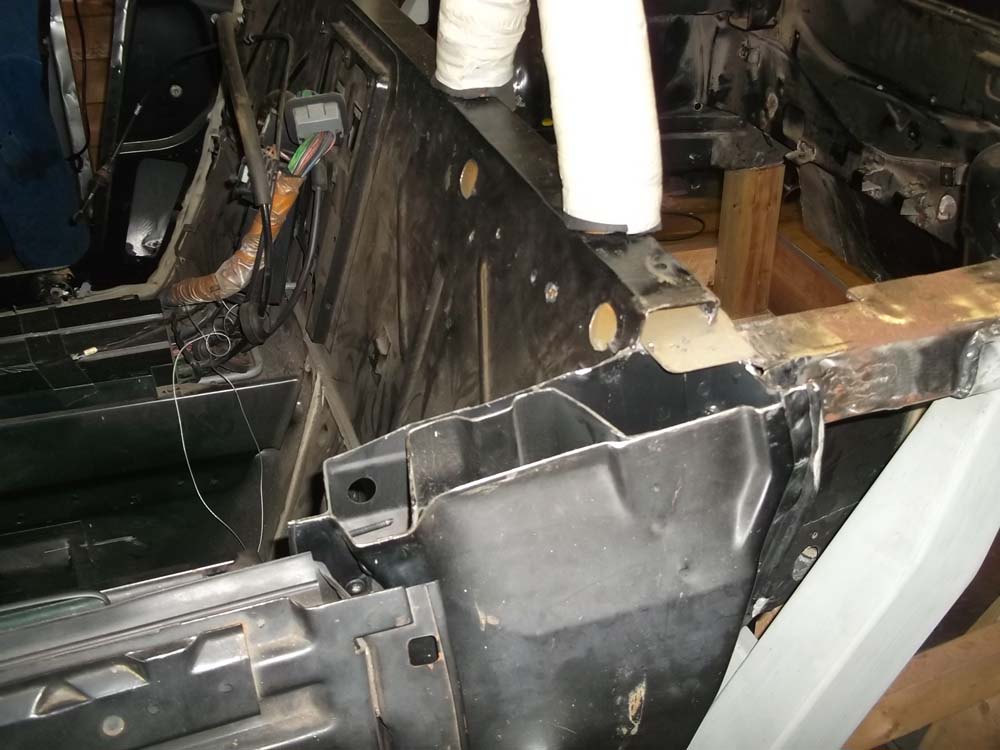
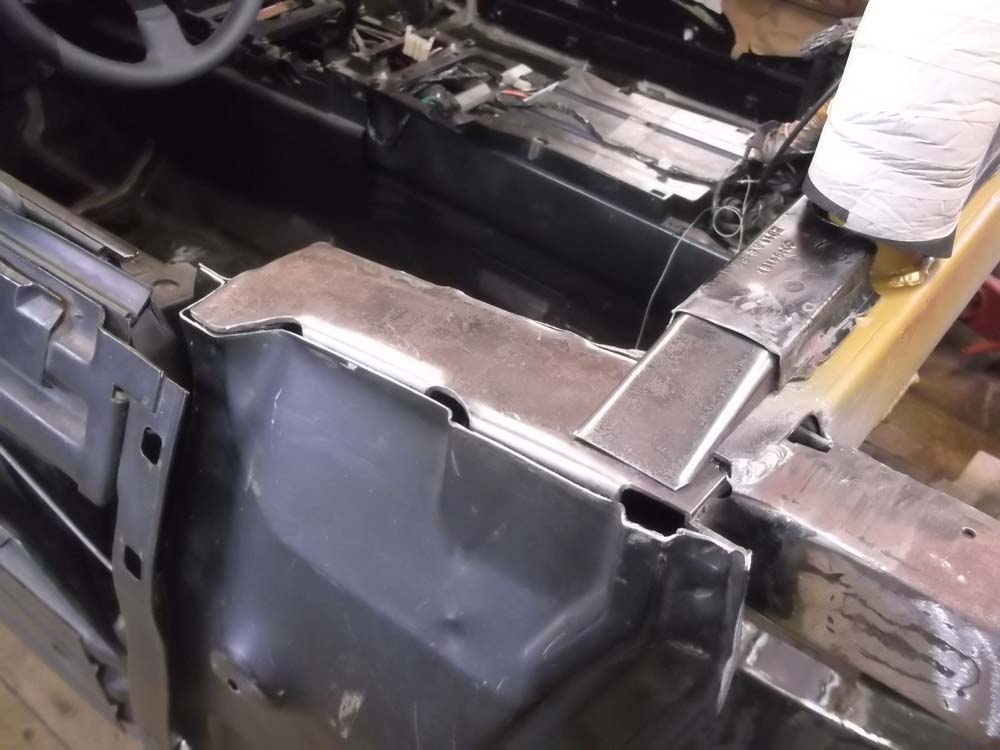
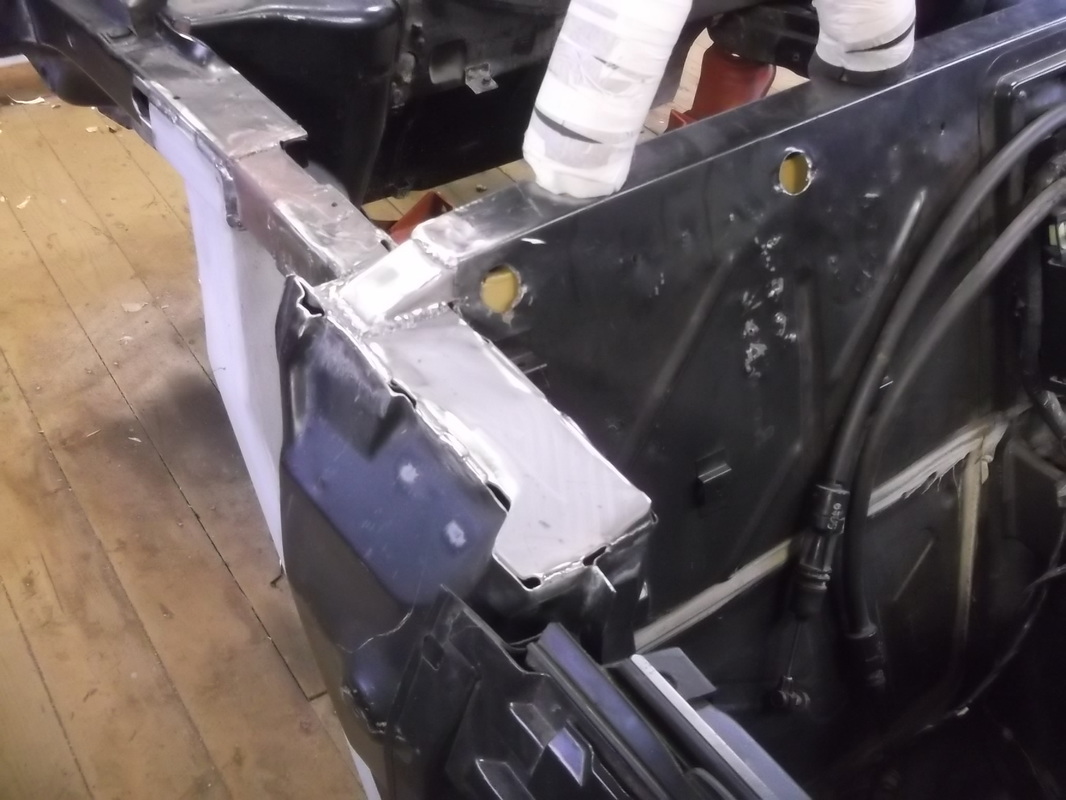
As I mentioned, I wanted to stiffen up this gaping open hole that remained. I made a template of the area and made a cap out of 1/8" plate. I left some extra material which I bent downward to form flanges which would provide material for welding.
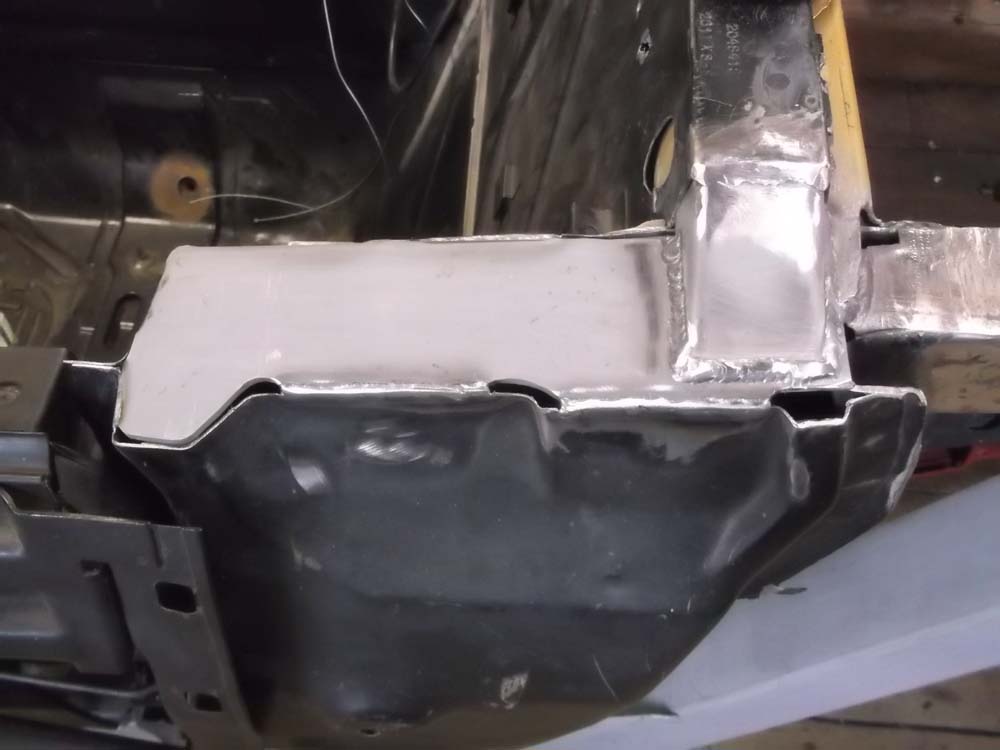
And welded up, ready for some primer.
August 20 2013
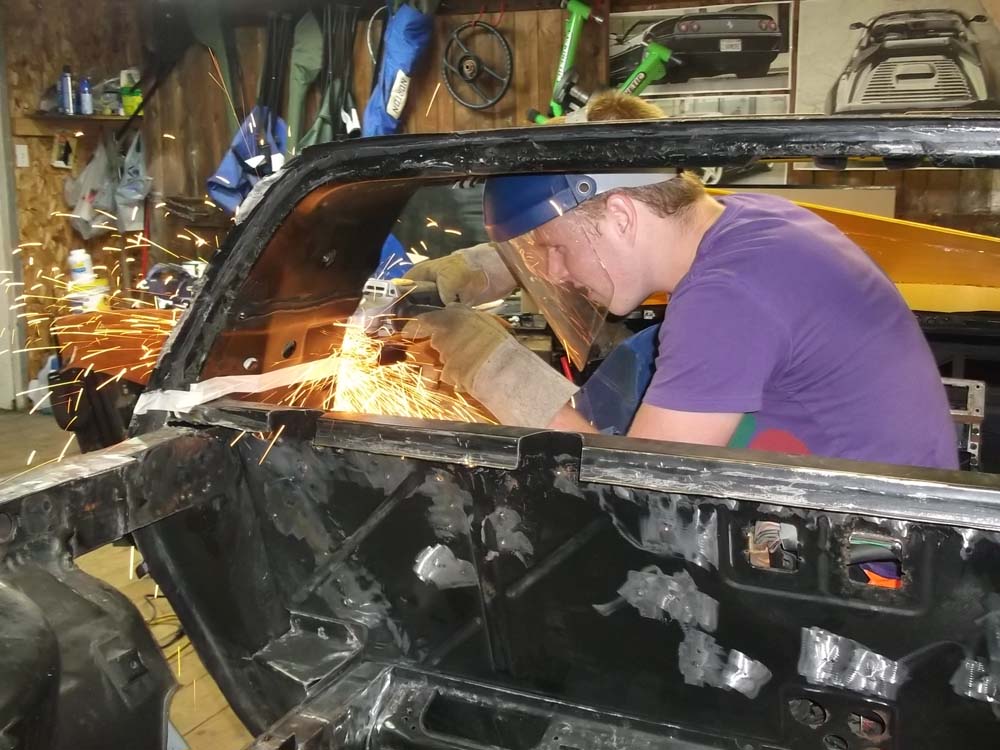
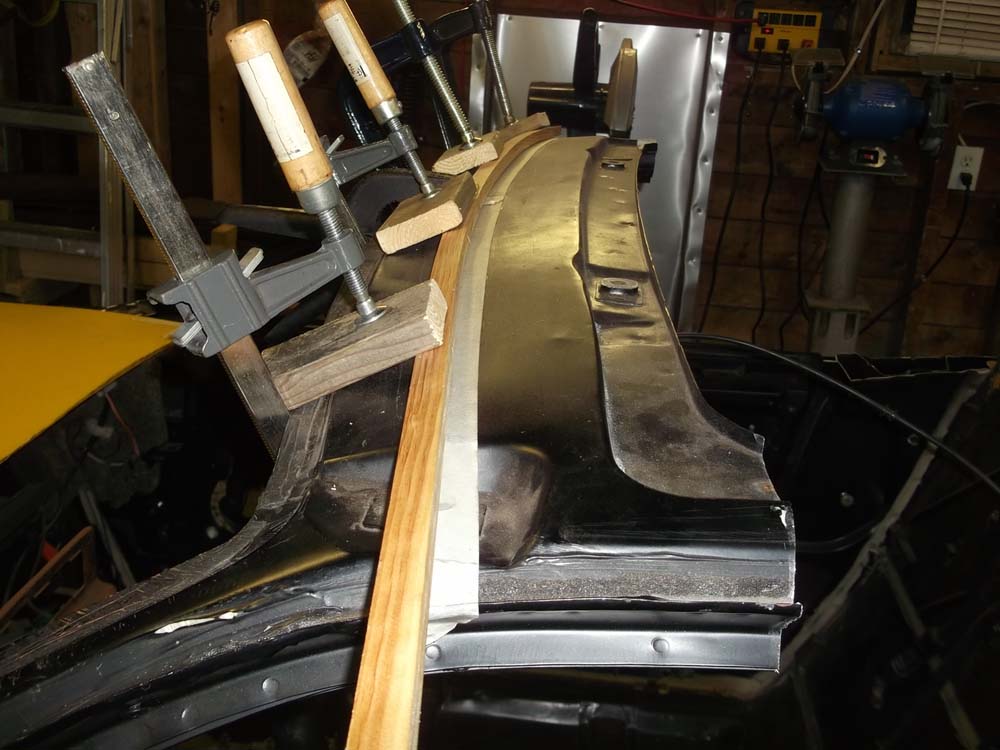
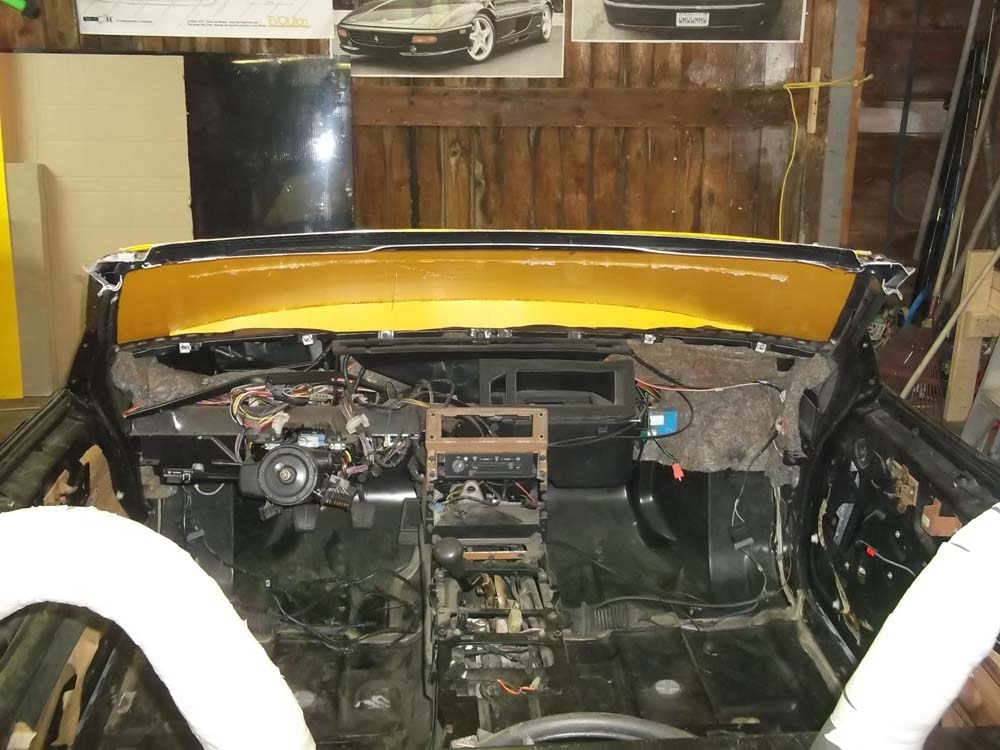
The remaining area to finish off is across the top of the windshield. As I had mentioned earlier, I cut the roof off rough by cutting through the sunroof hole, but I need to trim the top of the windshield back more so that the finished look will be similar to the 355. I shot a line that ran parallel to the top of the glass and marked it off with masking tape. Then made the cut with the jigsaw. I secured a wooden batten to help guide the saw along the curved line.
The remaining area to finish off is across the top of the windshield. As I had mentioned earlier, I cut the roof off rough by cutting through the sunroof hole, but I need to trim the top of the windshield back more so that the finished look will be similar to the 355. I shot a line that ran parallel to the top of the glass and marked it off with masking tape. Then made the cut with the jigsaw. I secured a wooden batten to help guide the saw along the curved line.
Sept 22 2013
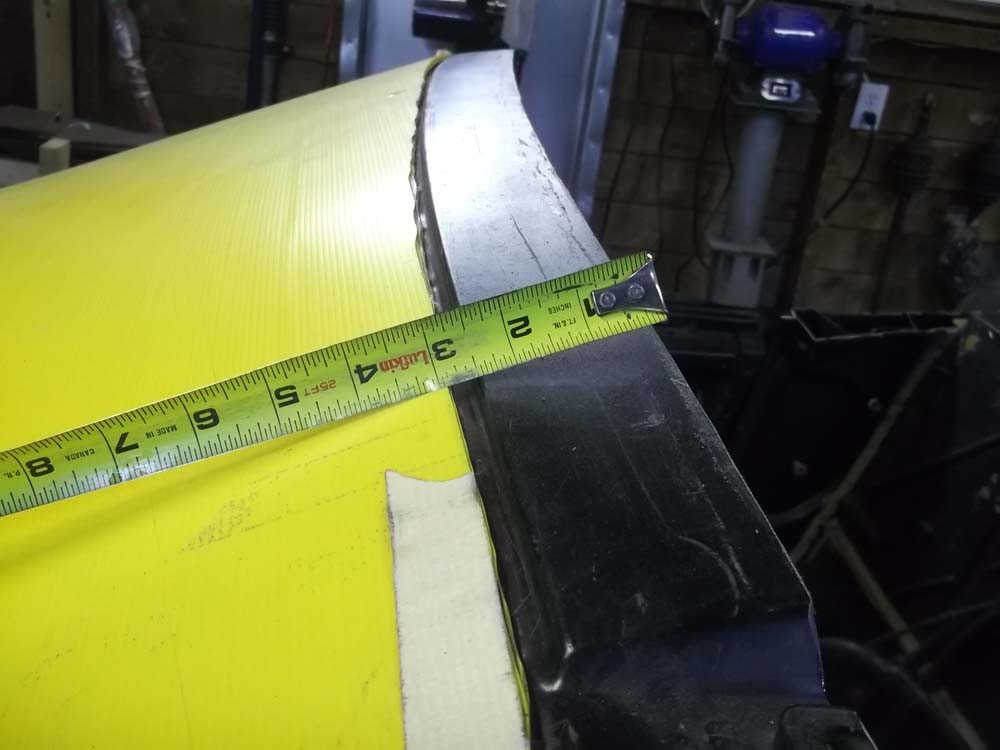
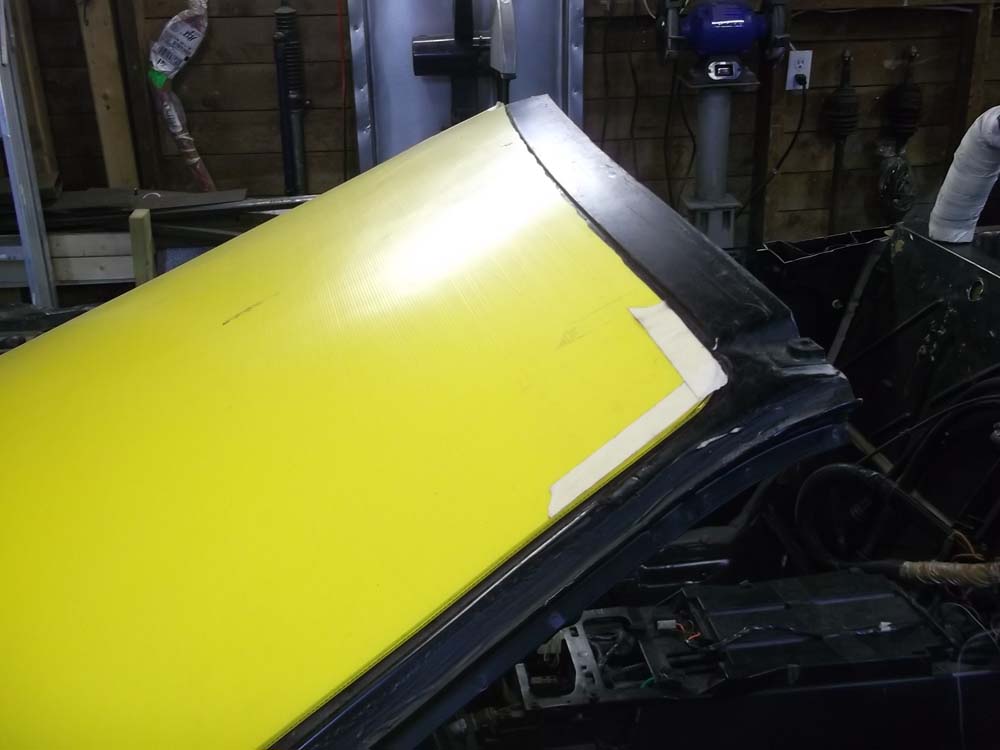
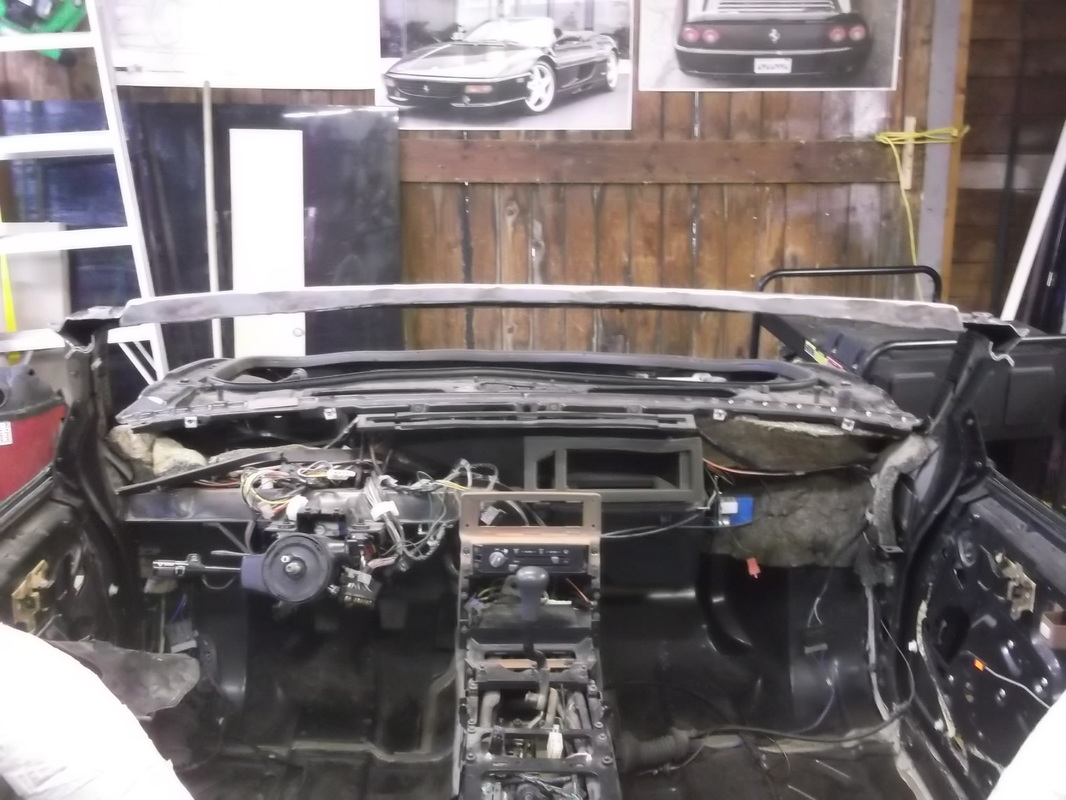
With a clean cut made, I proceeded to cap the resulting hole with a narrow strip of 1/8" plate and positioned it so that a fine weld bead would seal it all up to leave a clean smooth edge.
With a clean cut made, I proceeded to cap the resulting hole with a narrow strip of 1/8" plate and positioned it so that a fine weld bead would seal it all up to leave a clean smooth edge.
Here are the two pieces that made up the roof. This gives you a good idea of how much material was removed.
Here is a good view of the chassis sitting at ride height with all the roof removed. Its starting to look like a spider now.
