The engine......
|
April 3 2017
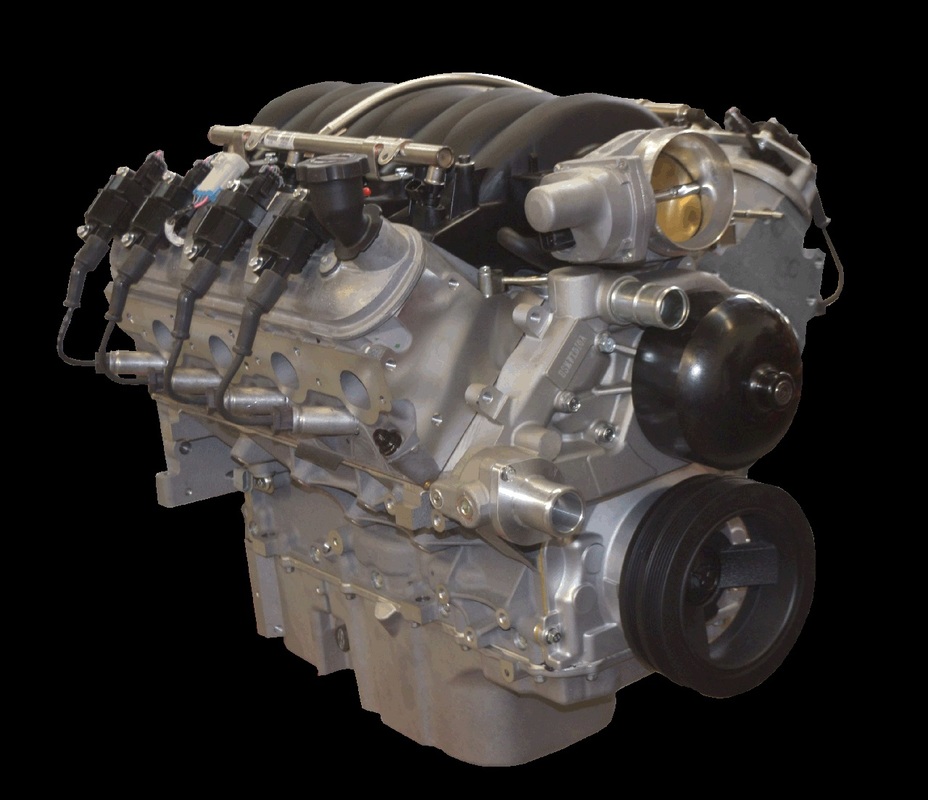
My original plan was to install an LS1 crate engine with 410 hp. It seemed like the perfect engine with the characteristics I desired for my project car. The LS1 has been discontinued by GM for a few years now so the only option for owning one is to find a builder who has a new block on the shelf as a starting point or buy a used engine and have it refurbished. I decide a long time ago that I would attempt to install a new engine in my car since I lacked the experience and tools to rebuild an engine myself and the cost of having one built for me would likely exceed my budget. To the right is the image I posted a while back of a 410 hp LS1. |
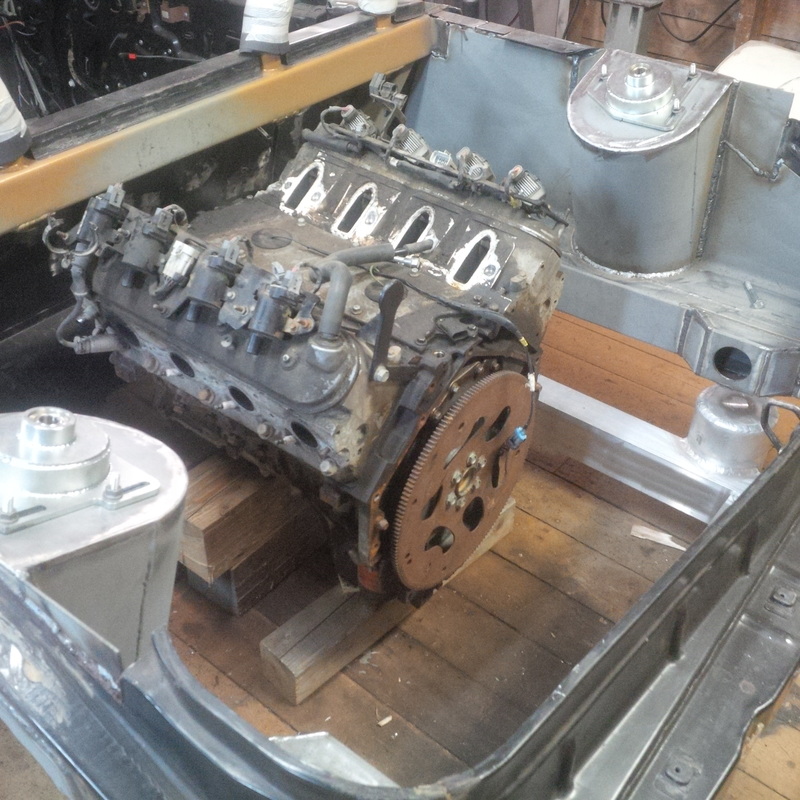
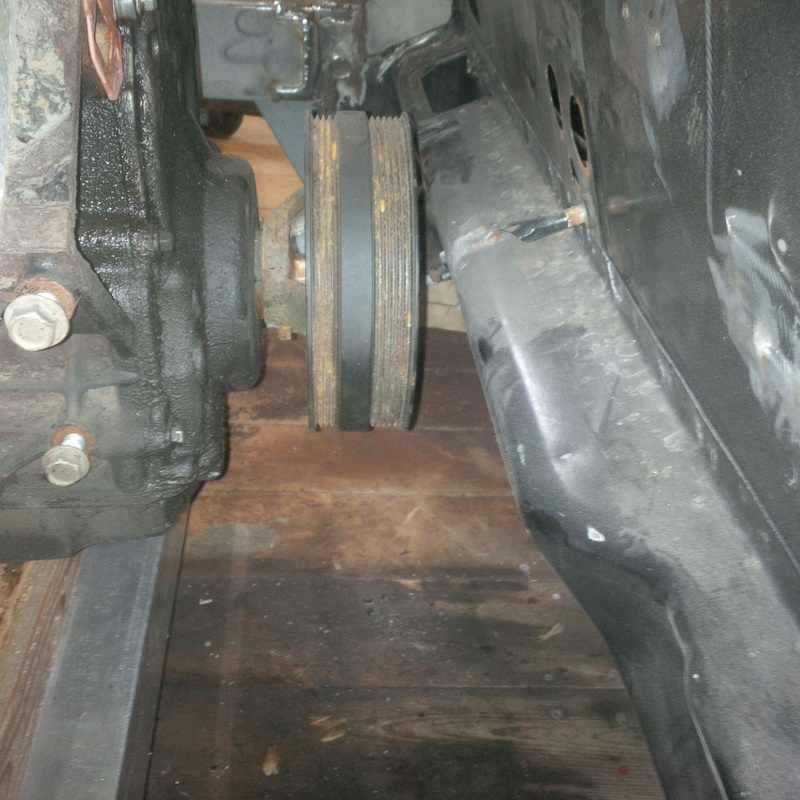
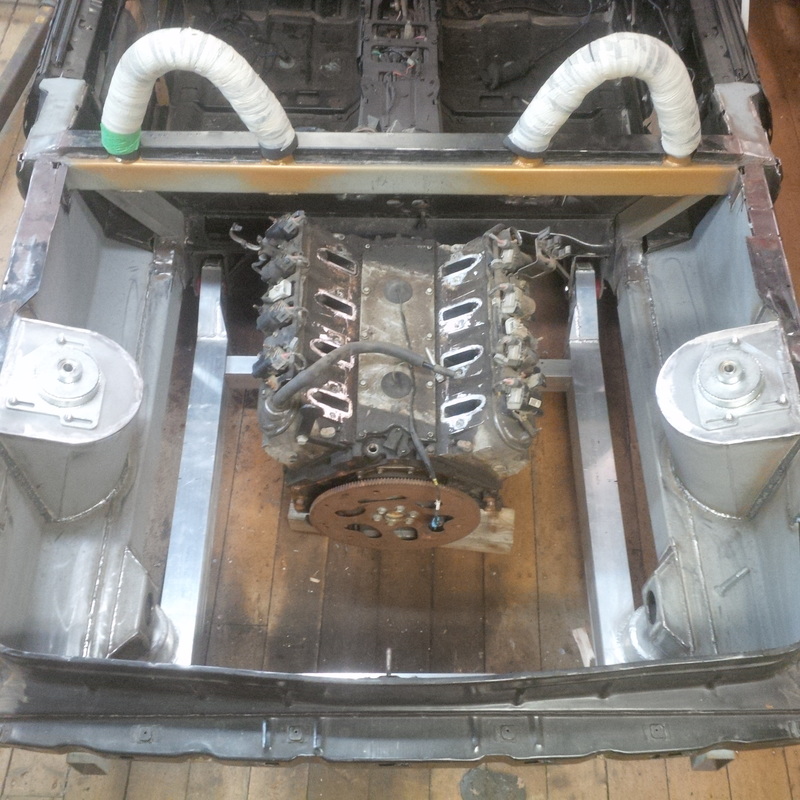
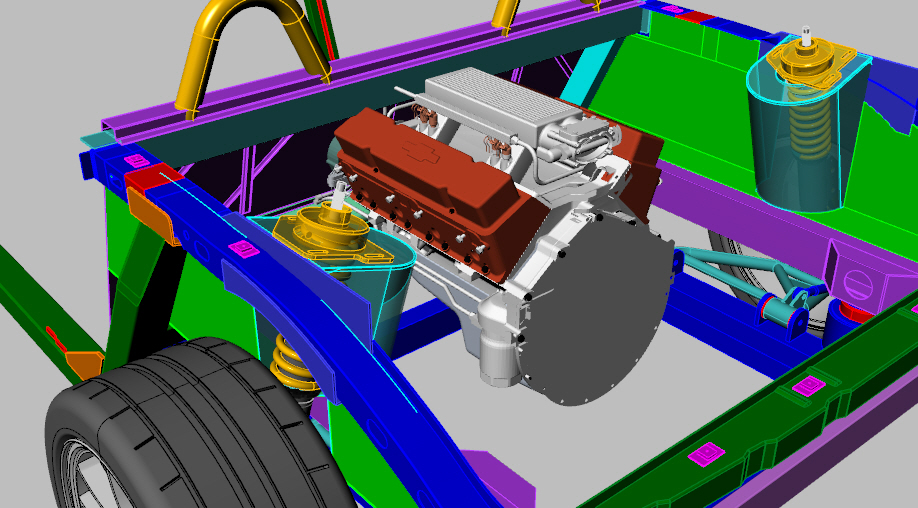
Until I purchase the LS1 Crate engine shown above, here is an iron block truck version of the engine sitting in the engine bay. It still has the big pulley on the front so there will be about 2 1/2 to 3 more inches available to slide it further forward. That will put the bell house in line with my drive line as indicated in my drawing. Of course my drawing is showing an 350 SBC and not an LS1.
But like all good plans, things have changed. After spending much of the winter researching engines, parts, builders in Canada and south of the border, it quickly became apparent that there were other options available that might be as good or better than the LS1, with regards to performance and cost.
After spending hours reading and rereading the GM Performance Products Catalogue and drooling on the pages, researching modern, available crate engines, I finally settled on the LS3. The LS3 Crate Engine is a 6.2 ltr, 376 cubic inch V8, all aluminum beast with 430 hp @ 5900 rpm and 424 lb-ft of torque @ 4600 rpm. It's a little more engine than I wanted for this project but then the more I thought about it, the bigger my stupid grin grew :)
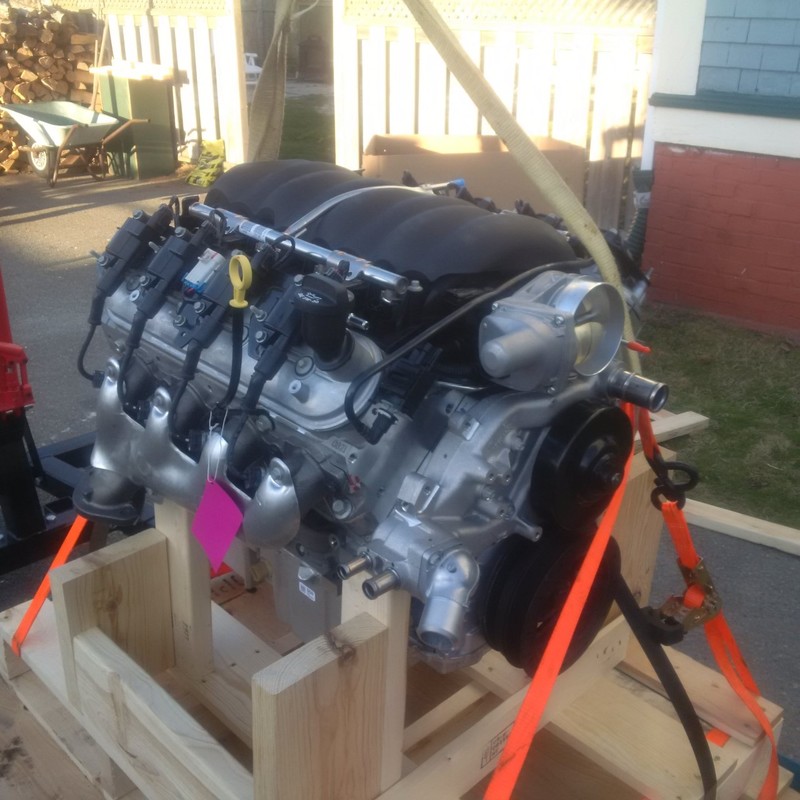
Below are a couple images of the LS3 crate engine as supplied by GM along with some basic engine specifications.
Part Number: 19301326
Engine Type: LS-Series Gen-IV Small-Block V-8
Displacement (cu. in.): 376 (6.2L)
Bore x Stroke (in.): 4.065 x 3.622 (103.25 x 92 mm)
Block (P/N 12623967): Cast-aluminum with six-bolt, cross-bolted main caps
Crankshaft (P/N 12597569): Nodular iron
Connecting Rods (P/N 12607475): Powdered metal
Pistons (P/N 19207287): Hypereutectic aluminum
Camshaft Type (P/N 12603844): Hydraulic roller
Valve Lift (in.): .551 intake / .522 exhaust
Camshaft Duration (@.050 in.): 204° intake / 211° exhaust
Cylinder Heads (P/N 12629063): Aluminum L92-style port; “as cast” with 68-cc chambers
Valve Size (in.): 2.165 intake / 1.590 exhaust
Compression Ratio: 10.7:1
Rocker Arms (P/N 12569167 int): Investment-cast, roller trunnion
Rocker Arms (P/N 10214664 exh): Investment-cast, roller trunnion
Rocker Arm Ratio: 1.7:1
Recommended Fuel: 92 octane
Maximum Recommended rpm: 6600
Reluctor Wheel: 58X
Balanced: Internal
Based on all this research, data, weighing the pros and cons, talking to friends like Dave and Sam, I visited my local GM dealer, discussed what I wanted and what they could offer......... and pulled the trigger by completing a purchase order.
April 6 2017
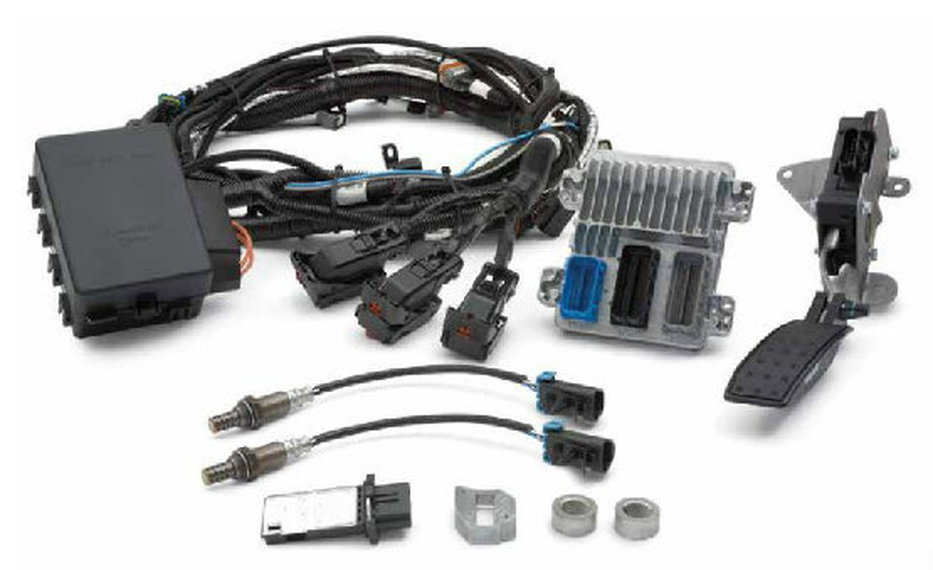
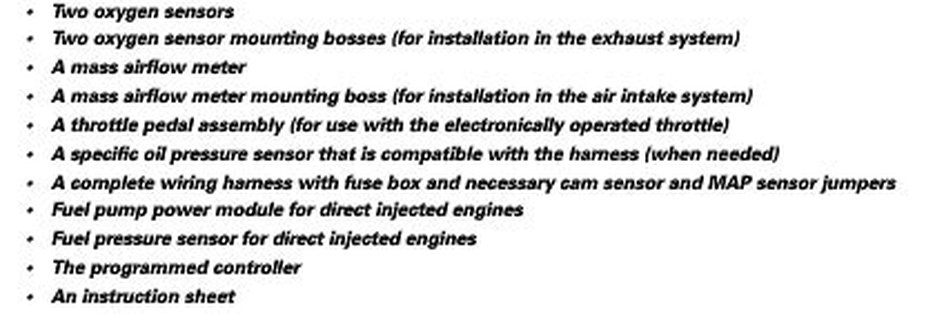
I forgot to mention that along with the LS3 crate engine I have ordered, I also purchased the GM Engine Control Module and Harness. Here is an image of what it looks like and a list of parts included. The LS3 has a fly-by-wire throttle so you'll notice the electric throttle pedal. That should be an interesting fit in the not-so-spacious driver side foot well :(
April 15 2017
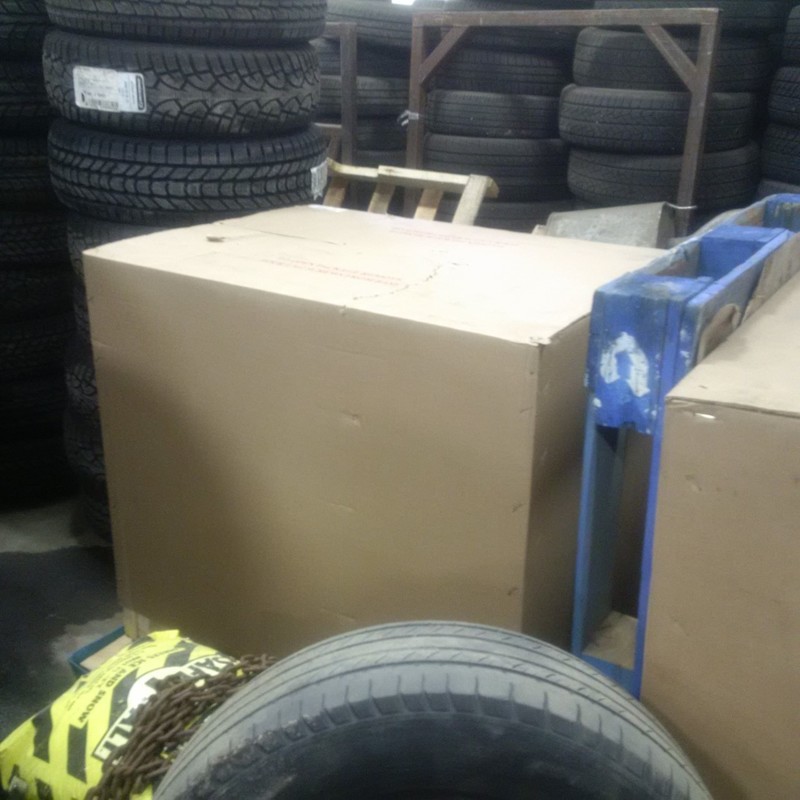
Well, my new LS3 has finally arrived at our local dealership, Murray GM. Unfortunately its the annual Easter Egg Hunt day for the kids so I'll have to wait until Monday to get it out of storage. While I am super excited that my new engine has arrived, it's a little disappointing that my GM Performance Crate engine arrived in a cardboard box ha-ha
Well, my new LS3 has finally arrived at our local dealership, Murray GM. Unfortunately its the annual Easter Egg Hunt day for the kids so I'll have to wait until Monday to get it out of storage. While I am super excited that my new engine has arrived, it's a little disappointing that my GM Performance Crate engine arrived in a cardboard box ha-ha
April 21 2017
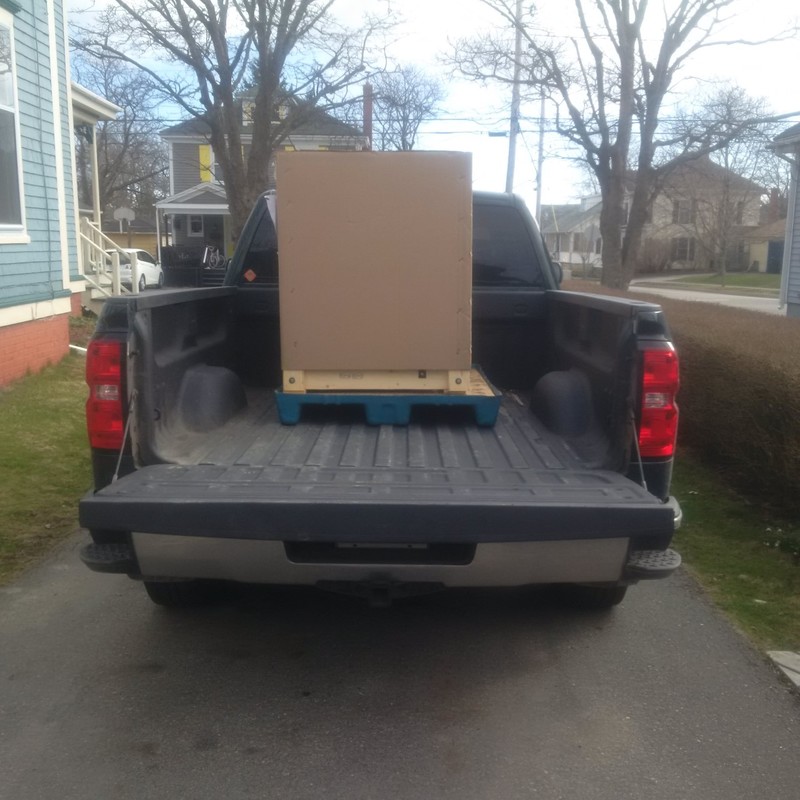
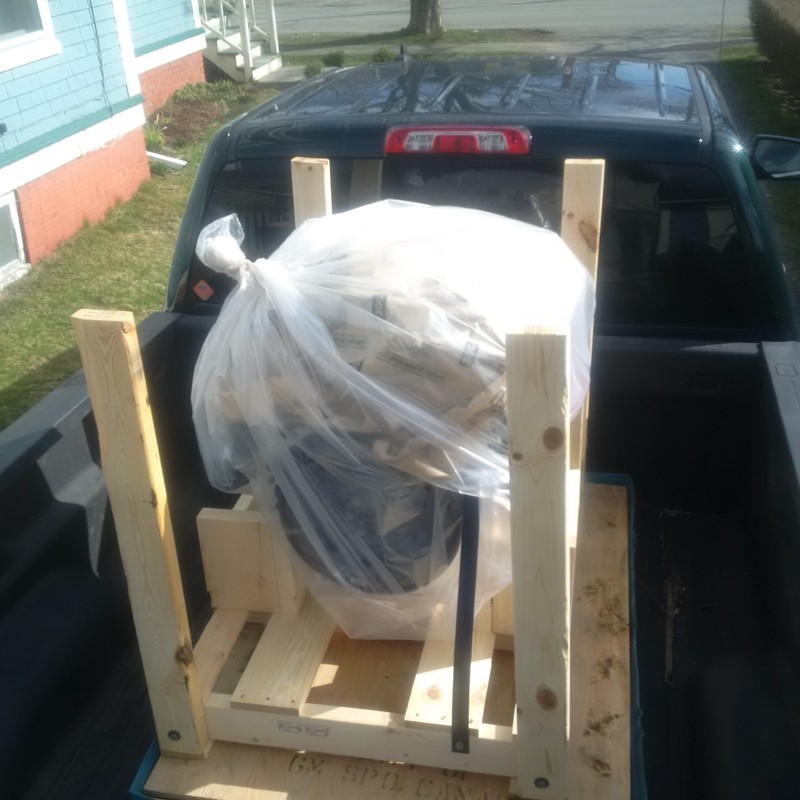
My new LS3 finally made it home today. I left work a little early today to pick it up at the dealership before 5pm. They lifted the whole crate into my truck with their forklift. While I waited, I couldn't resist sitting in a brand new 2017 Vette on the showroom floor. Holy frig that is a nice car.
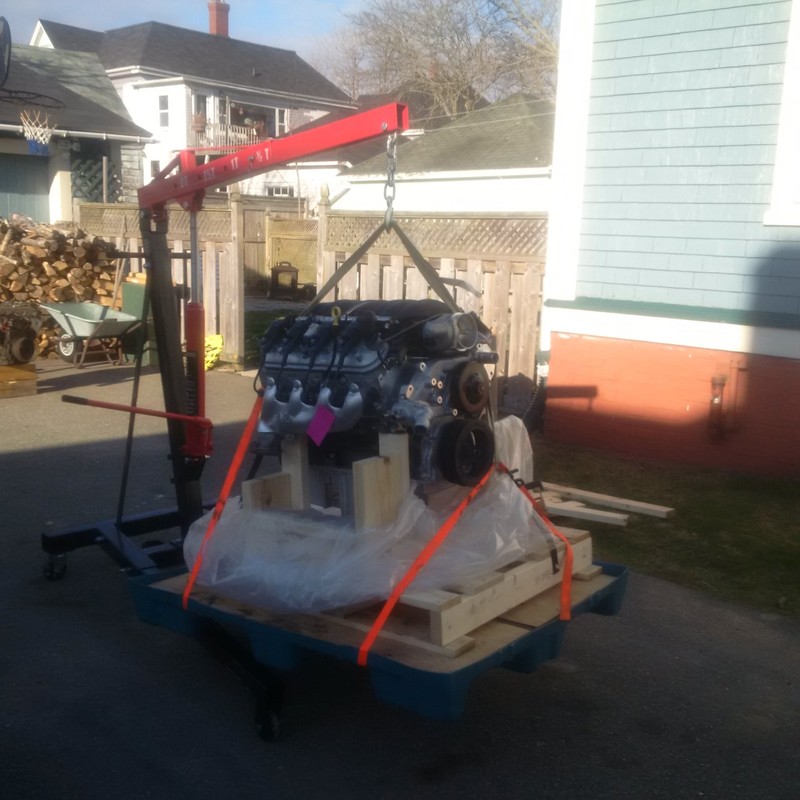
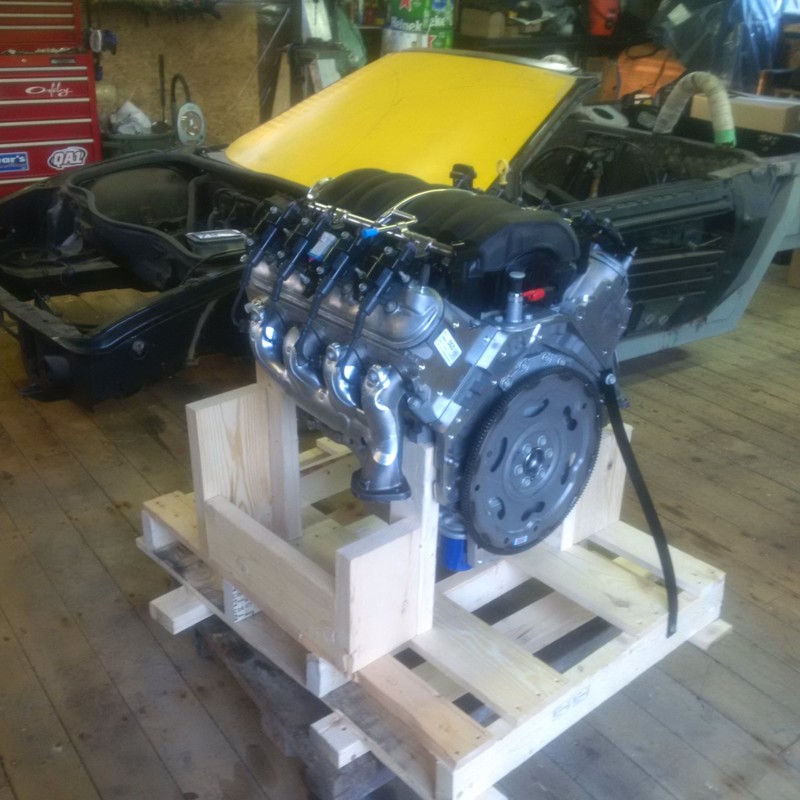
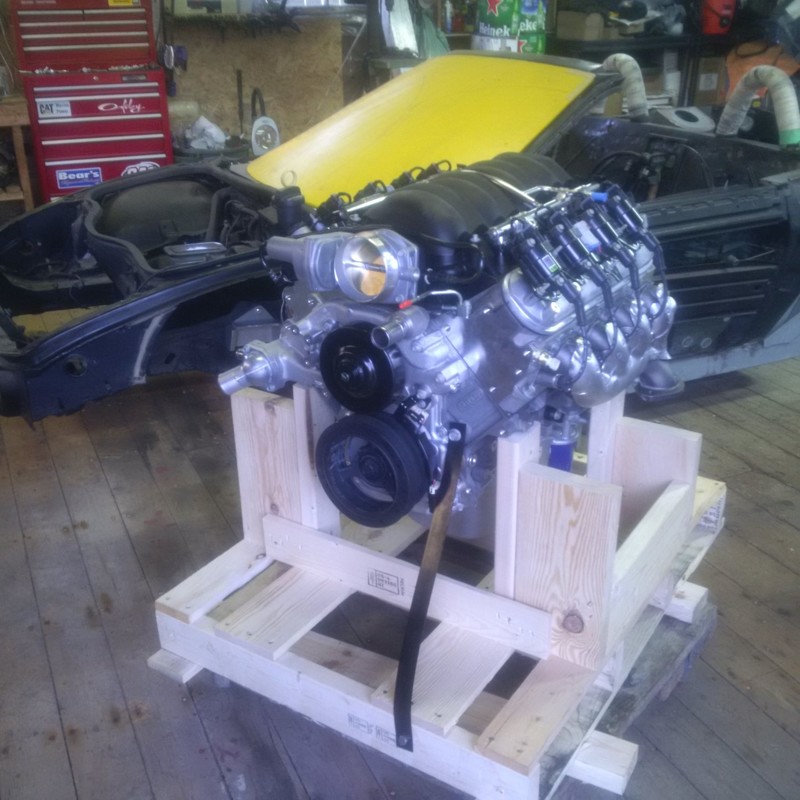
My plan was to lift the whole crate out of the truck with my engine hoist. I had tested out the hoist range by slinging the old iron engine block currently sitting in my chassis. It had plenty of range to lift an engine that high. Once I had the crate lifted off the truck box deck, I drove the truck out from under it. I had a wheeled dolly made for the original Fiero engine and transmission about 25 years ago and it was still hanging in the garage so it was perfect to put the new LS3 on. Here are a few pics. I guess once the cardboard box was off, it sort of looked like a crate inside. :)
The new engine looks pretty much at home in the garage with the car. The first thing I need to do is fabricate a proper lifting sling with spreader bar. And I better do it asap because Bloozberry Dave has already requested pictures of the new engine sitting in the engine bay. ha-ha-ha-ha
There are a few things I know I need to do to prepare the engine for its first test fit. The obvious one will be to rotate the intake manifold 180 degrees so its pointing to the rear of the engine. There are a few modification that will be required to accommodate this such a relocate a sensor that is mounted on the rear of the lifter valley. I'll document these changes as much as possible as there seems to be few details of this modification online although it seems to be a popular modification for LS engines used in off road rigs.
The other changes include removing the water pump and installing fittings for a remote electric pump so that the engine can snug up behind the firewall as much as possible. With the water pump gone, I would like to source a shorter single sheave harmonic balancer, again, in an effort to move the engine forward as much as possible. Another significant change will be to remove the exhaust manifolds and design and build true, equal length 180 degree headers. Daves came out so nice, I really have no choice now but to build myself a set. :)
I have sourced a couple different manufactures of adapter kits that also include custom flywheel and suitable clutch parts. Although I haven't ruled out having my own adapter plate design machined locally.
My Audi 01E gearbox is still being refurbished and upgraded by Advanced Automotion in TX. No pressure Scott :)
April 23 2017
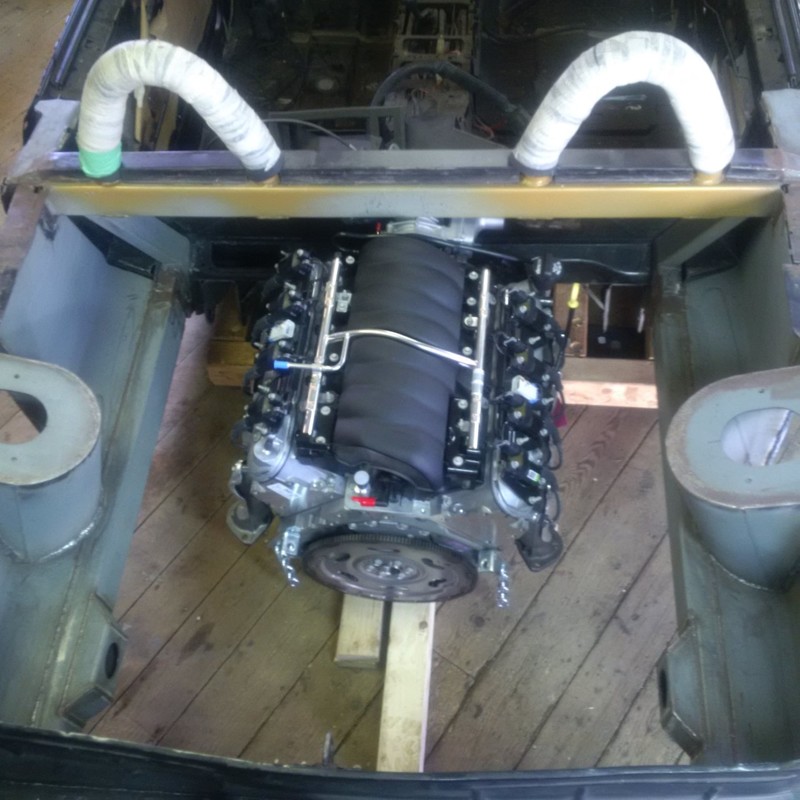
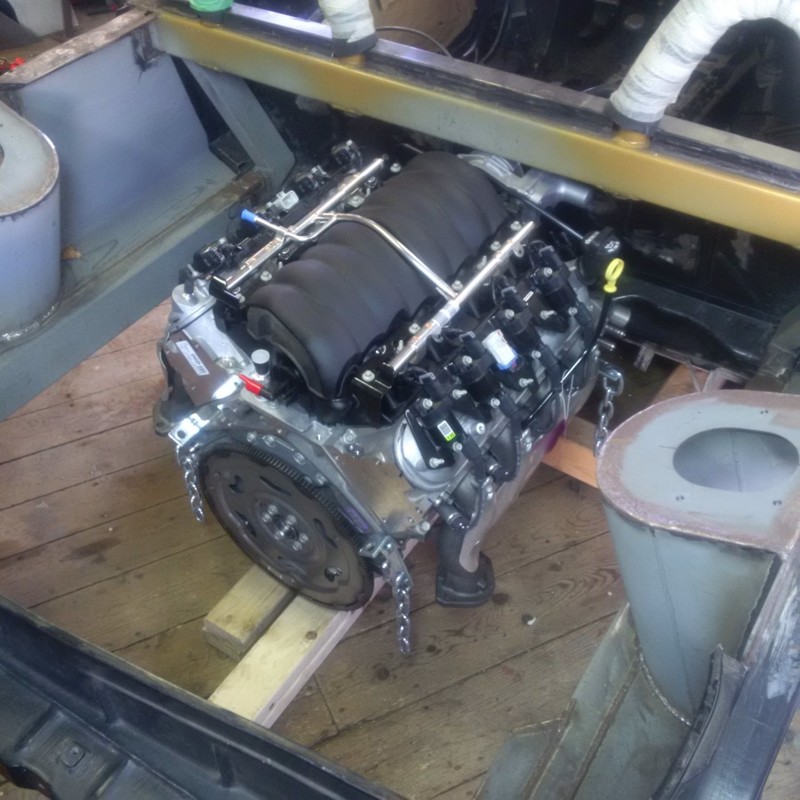
I couldn't let the weekend go by without mocking up the new engine in the chassis. I picked up an engine leveler while I was in the city this weekend. I had hoped that it would work right out of the box, however, I had no such luck. My goal was to lift the engine by the threaded holes in the block as opposed to the spare threaded holes on the ends of the heads or the threaded holes in the lifter valley as I have seen some do on other builds. I expect that I will have this engine in and out of the chassis many many times over next while so I wanted a good secure location for the lifting gear. I found the chains to be a little too short on the engine leveler as was the main body of the leveler. I was not happy that the chains would wrap up over the ends of the heads as they are aluminum and would take a beating during the build. So I will redesign the engine leveler to suit my engine. But for now, I used it with 4 heavy duty ratchet straps just for today to allow me to get the engine in the bay for a few pictures. They are nice and soft and didn't scratch the shiny new engine parts. :)
I'm not sure if this is the first LS3 fitted longitudinally in a stretched Fiero or not, so here it is. The engine is not in sitting in the correct position but it close enough for now.
In the picture below, you can see that the intake is right behind the firewall and just below the additional transverse structure I had added to the chassis. It is for this reason that I will reverse the intake 180 degrees so it faces the rear of the car.
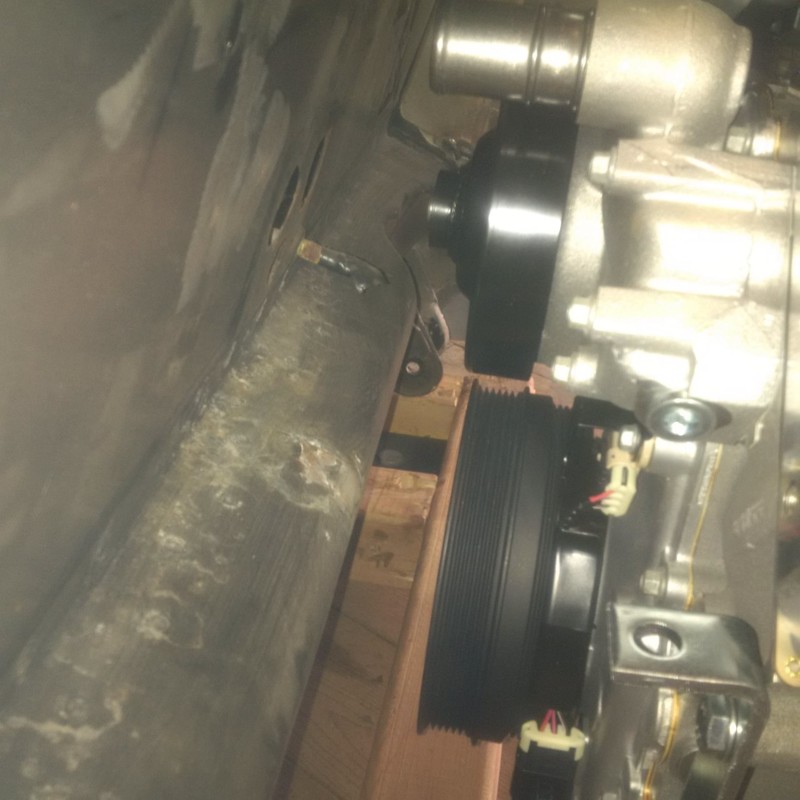
In this picture, You can see the harmonic balancer and the water pump behind the firewall. There is actually room for the water pump, however, it would be blocking the firewall openings for the engine harness, shift cables and such. If I can find a single sheave harmonic balancer, it will allow me to move the engine further forward another 1 - 2 inches. Without the water pump belt, the only other auxiliary will be the alternator so a single sheave balancer would be perfect.
